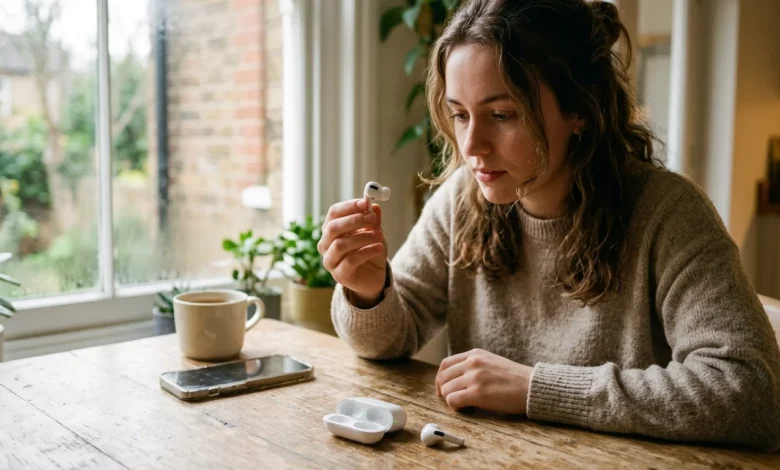
One AirPod is usually louder than the other because of a clogged speaker mesh, a poor ear tip seal, a left-right balance setting, or a natural difference between your ears. So why is one AirPod louder than the other on your pair? A one-minute swap test shows whether the earbud or your ear is responsible, and most fixes cost nothing.
This guide covers every common cause in the order worth checking, from quick settings changes to the point where you should contact Apple or a hearing professional. The steps apply to US iPhone, Android, Mac, and Windows users, with Apple’s official guidance cited where it exists.
Run the Swap Test Before Changing Anything
Put the left AirPod in your right ear and the right AirPod in your left ear, then play the same audio. If the louder side follows the earbud, the earbud is the problem. If the louder side stays in the same ear, the cause is a setting, the audio file, or your ear.
This test splits the troubleshooting list in half. It stops you from cleaning hardware that was never dirty or resetting software that was never wrong.
Use a podcast episode or a spoken-word recording with a centered voice. Music is a poor test track because some songs are mixed with instruments pushed to one side, which can look like a volume gap.
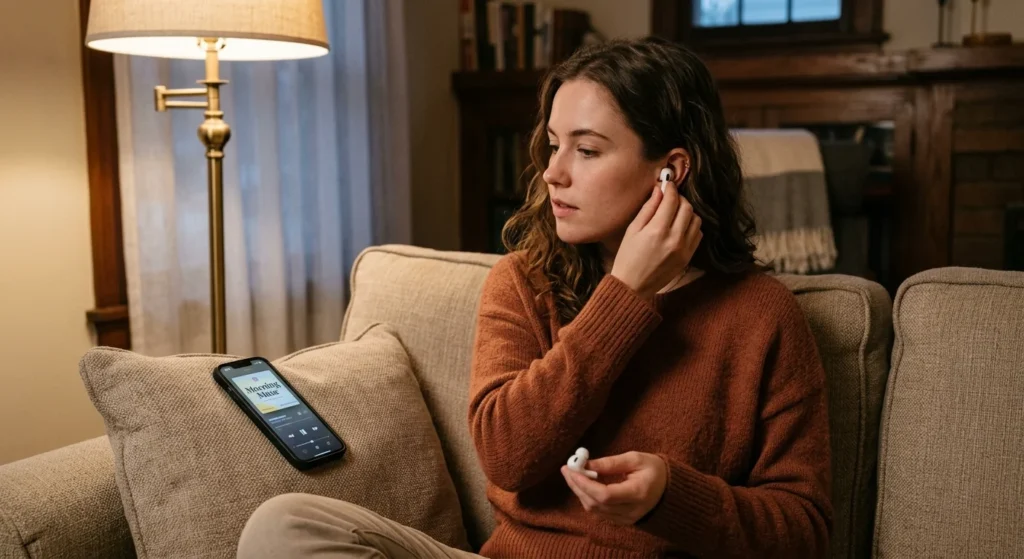
Test at a low, comfortable volume with your head still. Gaps are easier to hear when the volume is low, and turning your head with Spatial Audio switched on can change which ear sounds louder.
Quick Reference: What You Hear and What It Usually Means
| What you notice | Most likely cause | First thing to try |
| One side is quieter and muffled, with weak bass | Clogged speaker mesh or loose ear tip | Dry-swab the mesh, run the Ear Tip Fit Test |
| The same ear is louder even after swapping earbuds | Balance setting, earwax, or hearing difference | Center the balance slider, then see a hearing professional if it persists |
| Sound shifts as you turn your head | Spatial Audio with head tracking | Switch Spatial Audio off |
| Crackle, static, or dropouts | Hardware fault or Bluetooth glitch | Reset, then check warranty |
| Only certain songs sound lopsided | Hard-panned stereo mix | Test with a podcast |
Check the Left-Right Balance Setting
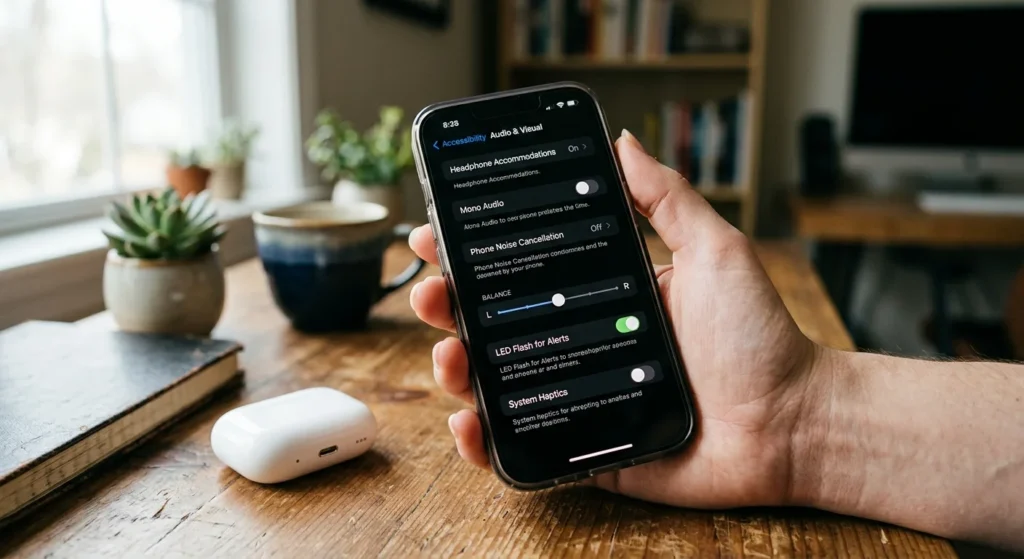
A balance slider that has drifted off center is the most common software reason one earbud sounds louder. Apple’s support guidance for AirPods sound problems points people to the balance setting in Accessibility. The slider is easy to nudge by accident.
1. iPhone and iPad
Open Settings, tap Accessibility, then Audio & Visual (older iOS versions label it Audio/Visual). Under Balance, the slider should sit exactly halfway between L and R. Drag it to the middle if it has moved.
Check the Mono Audio switch on the same screen. Mono Audio sends the same signal to both ears, so it hides uneven mixes, but it will not fix a clogged earbud.
2. Android
Menu names differ by brand. On Google Pixel phones, look for Audio adjustment under Accessibility and center the audio balance slider. On Samsung Galaxy phones, go to Settings, Accessibility, then Hearing enhancements, and check the left and right sound balance control.
3. Mac and Windows
On a Mac, open System Settings, choose Sound, select Output, and pick your AirPods. The Balance slider appears in that panel.
On Windows, open the classic Sound control panel, select the AirPods under Playback, and open Properties. The Balance button on the Levels tab lets you make the left and right levels match.
Clean the Speaker Mesh and Microphone Ports
Earwax and lint rarely build up evenly, so one earbud can have a clogged speaker mesh while the other is clear. A blocked mesh makes that side quieter and often muffled, with weaker bass.
Apple’s official cleaning guidance says to use a soft, dry, lint-free cloth for the body and a dry cotton swab for the speaker and microphone meshes. Apple also tells users to keep liquids out of the openings and to avoid sharp objects.
Hold the earbud under a bright lamp and look at the mesh. Brush gently in small circles with a dry swab, then wipe the shell. Do not press toothpicks, pins, or putty into the mesh, because that can push debris deeper or tear it.
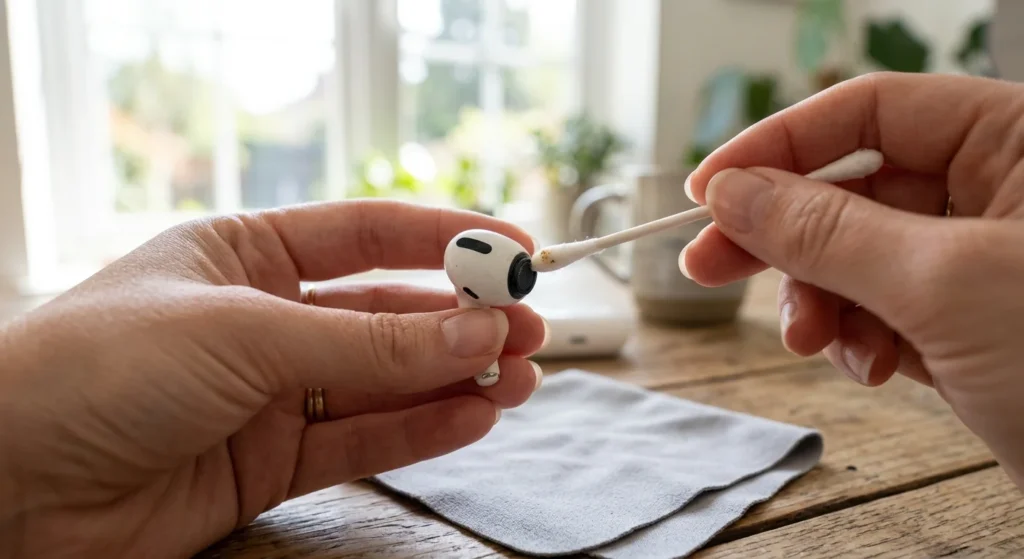
Let the earbud sit for a few minutes, then repeat the swab test. Check both earbuds, since the clean-looking one may also carry a thin film of buildup.
Fix the Ear Tip Seal on AirPods Pro
On silicone-tip models, seal controls loudness. A loose tip leaks sound, so bass drops and that earbud seems quieter than it really is.
AirPods Pro owners can run the Ear Tip Fit Test on an iPhone. Open Settings, tap Bluetooth, tap the info button next to your AirPods Pro, and choose Ear Tip Fit Test. It plays a short tone and tells you whether the seal in each ear is good or needs adjustment.
It is normal to need different tip sizes in each ear, because ears are rarely symmetrical. Replace any tip that looks stretched, split, or dirty, since a worn tip seals poorly.
Standard AirPods have no tips, so fit depends on ear shape. Rotate the earbud slightly forward or back until the sound fills out, because a stem angled away from the ear can thin out one side.
Software and Audio Features That Mimic a Volume Gap
Not every uneven-sounding AirPod is faulty. Several features move sound around on purpose.
1. Spatial Audio With Head Tracking
When Spatial Audio with head tracking is on, supported content is anchored to your device. Turn your head and the sound shifts between ears, which can feel like one side got louder. Open Control Center, press and hold the volume slider, and switch Spatial Audio off to test.
2. Hard-Panned Music Mixes
Some early stereo recordings from the 1960s place vocals or instruments almost entirely in one channel. On earbuds, that sounds like a faulty AirPod. Play a podcast to rule it out.
3. Headphone Accommodations
On iPhone, Settings, Accessibility, Audio & Visual then Headphone Accommodations lets you tune sound by frequency. A profile built from an audiogram can boost different frequencies in each ear. If you created one and forgot, turn it off and listen again.
4. Noise Control Microphones
AirPods Pro use outward-facing microphones for noise cancellation and Transparency mode. Hair, a hat, or a hoodie drawstring covering one microphone can make the two sides sound different. Move the obstruction and recheck.
Check the Audio Source and Bluetooth Connection
Play the same podcast through a second device, such as a laptop or a different phone. If the gap shows up on both, the AirPods are the cause. If it appears on only one device, the fault sits in that device’s settings or app.
Crowded Bluetooth environments, like apartment buildings full of routers, can cause brief dropouts on one side. These sound like short quiet moments rather than a steady gap. Moving closer to your phone or turning Bluetooth off and on often clears them.
Update and Reset the AirPods
A glitchy connection or old firmware can leave one earbud out of step. AirPods update automatically while they charge in the case, within Bluetooth range of a connected iPhone or iPad. To see the firmware version, open Settings, tap Bluetooth, and tap the info button next to your AirPods.
Resetting is a free fix worth trying before any service request. Apple’s steps are:
- Put both AirPods in the case, close the lid, and wait 30 seconds.
- Open the lid, go to Settings, Bluetooth, tap the info button, and choose Forget This Device.
- With the lid open, press and hold the setup button on the back of the case for about 15 seconds, until the status light flashes amber and then white.
- Bring the case near your iPhone and follow the prompts to reconnect.
Charge both earbuds fully before testing. A reset fixes pairing and software faults, but it will not clear a blocked mesh or a damaged driver.
When Your Own Hearing Is the Reason
If the louder side stays in the same ear after the swap test, your ears deserve a look. Small differences in hearing between ears are common, and so is uneven earwax.
Impacted earwax is a frequent culprit. The American Academy of Otolaryngology-Head and Neck Surgery advises against putting cotton swabs in the ear canal because they tend to push wax deeper. Earbuds can pack wax in the same way.
If you own AirPods Pro 2 or a newer Pro model, the built-in Hearing Test on iPhone checks each ear and takes about five minutes. Apple built it as a screening tool, so treat the result as a reason to see an audiologist, not as a diagnosis.
Get medical help quickly if the difference appeared suddenly, or comes with ringing, dizziness, or a muffled, full feeling. The National Institute on Deafness and Other Communication Disorders describes sudden sensorineural hearing loss as a medical emergency that needs prompt evaluation. This article is general information and does not replace a hearing evaluation.
When the AirPod Itself Has Failed
If the volume gap follows one earbud after cleaning, a seal check, and a reset, the hardware is likely at fault. Warning signs include crackling, static, sound cutting in and out, or an earbud that is much quieter at every volume level.
Check coverage first. AirPods carry a one-year limited warranty, and AppleCare+ for Headphones extends it. Apple has also run a service program for AirPods Pro (1st generation) covering crackling and noise cancellation faults on units made before October 2020, so check your serial number on Apple’s site.
In the US, you can book a repair through the Apple Support app, an Apple Store Genius Bar, or an Apple Authorized Service Provider. Out of warranty, Apple replaces a single earbud for a flat fee. If the pair is several years old, compare that fee against the price of a new set.
Battery wear is another cause in older pairs. One earbud can run flat sooner or cut out, and the sound seems to vanish on that side.
If you have worked through every step, the reason one AirPod is louder than the other is most likely a worn or damaged driver, and service or replacement is the fix.