
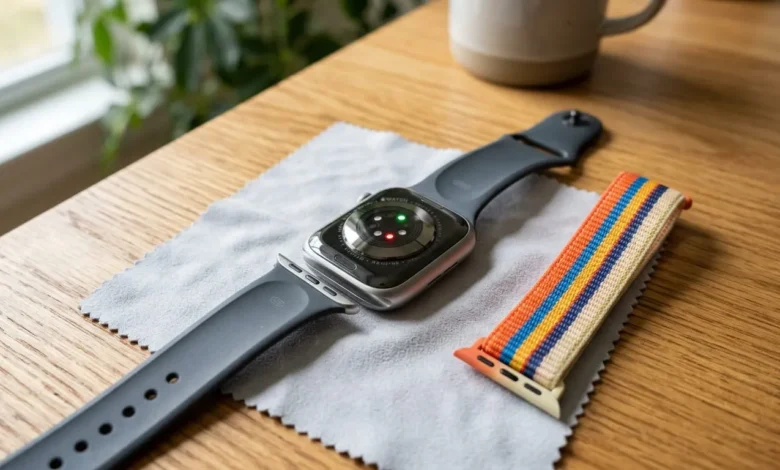
Changing an Apple Watch band takes less than a minute once you know where to press. The watch uses a spring-loaded release mechanism built into the case, not a traditional pin buckle, so the process is different from a regular wristwatch. Whether you are swapping a sport band for something dressier, replacing a band that has cracked, or need a different size for a better fit, the mechanism works the same way across nearly every Apple Watch model, from the original release through the Apple Watch Ultra. The steps below cover the standard band release process, how to handle the Solo Loop and Milanese Loop styles, what to do if a band refuses to slide out, and the small mistakes that scratch a case or damage a connector.
What you need before you start
A few minutes and a flat surface are really all this job requires. No screwdriver, no pry tool, and no trip to a repair shop.
Lay a soft cloth, such as a microfiber cleaning cloth or a folded towel, on a table or counter. This protects the watch face from scratches while it sits screen down during the swap. Take the watch off your wrist first, since a flat surface gives you better control and lowers the chance of dropping it.
Have your replacement band nearby and confirm it matches your case size before you start. Bands are sized in millimeters and only fit cases within a matching size range, covered in detail further down. If you are moving to a third-party band, check that it includes the correct connector for your case, since Apple Watch models can use slightly different lug widths within each size group.
How to remove your Apple Watch band
Every Apple Watch, regardless of series, uses the same basic release system on the back of the case.
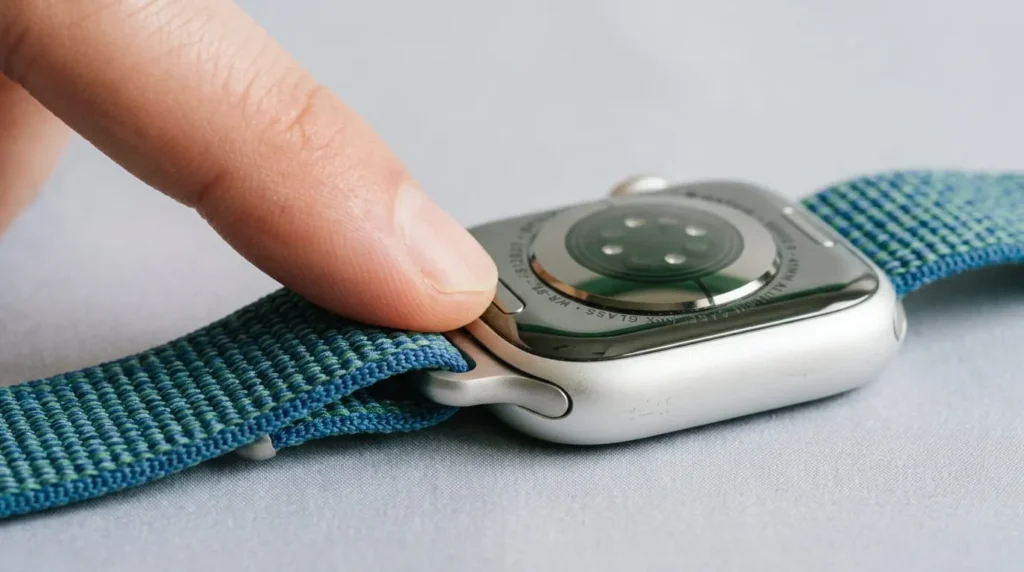
Place the watch face down on your padded surface, so the back of the case, with the sensors, faces up. Look for the two oblong buttons set into the case, one near the top edge of the band and one near the bottom. Press and hold the button nearest the top band, then slide that end of the band toward the edge of the case while keeping the button pressed. The band should pop free with light pressure. If it does not move right away, keep the button held down and wiggle the band gently rather than pulling on it. Repeat the same button and slide motion on the bottom band to remove it completely, or leave one side attached if you are only swapping one strap on a two piece design.
The button is spring loaded, so it needs to stay pressed the entire time you are sliding the band, not just tapped once.
How to attach a new Apple Watch band
Putting a band back on is quicker than taking one off, since there is no button involved on most standard bands.
Check the new band for a small arrow, logo, or texture mark that shows which end faces the top of the watch. Most Apple bands have the text or logo oriented so it reads correctly once the band points toward your hand. Line up the metal connector on the band with the open slot on the case. Slide the band in firmly until you hear or feel a click, which means the spring loaded pin has locked into place. Give the band a gentle tug to confirm it is seated, since it should not move or wiggle at the connector. Repeat for the other side if you removed both bands.
Never force a band that is not sliding smoothly. If it catches halfway, pull it back out and check the size and direction before trying again
Changing special Apple Watch band styles
Not every band uses the plain slide and click system. A handful of Apple’s own designs have their own release methods.
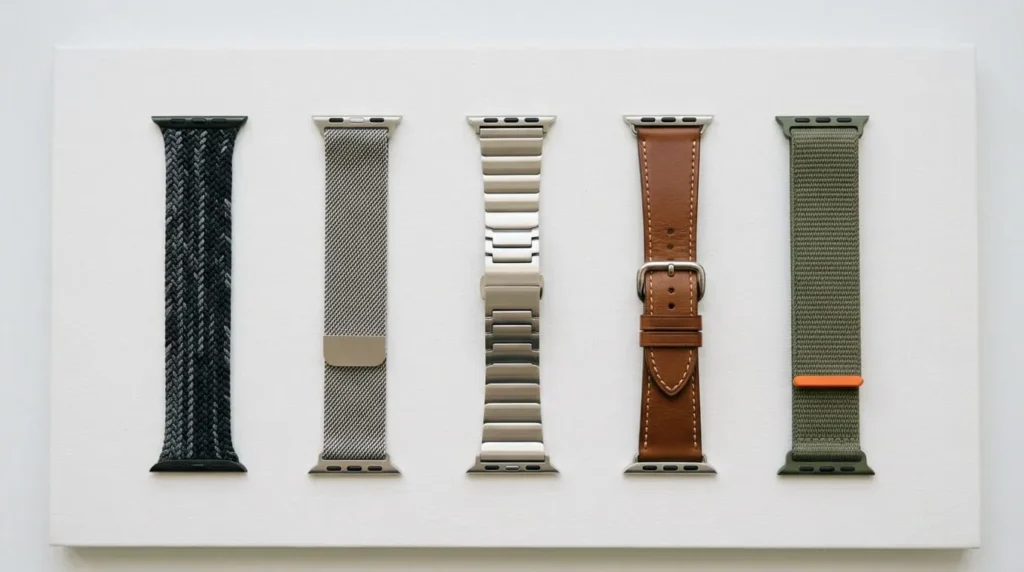
1: Solo Loop and Braided Solo Loop
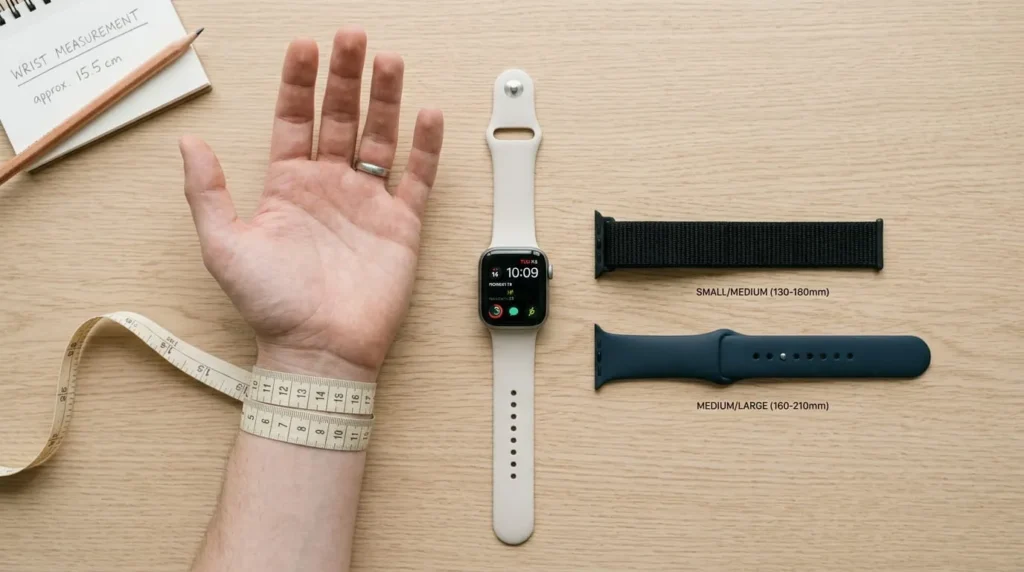
These stretchy, buckle free bands skip the release button entirely. Take the watch off your wrist, then stretch the loop over your hand the same way you would remove a hair tie. Putting it back on works the same way in reverse. Sizing matters more here than with any other band, since there is no adjustment once it is made, so measure your wrist before ordering a replacement.
2: Milanese Loop
On Milanese Loop bands made in 2018 or later, the magnetic mesh slides completely off the connector, so you can remove the whole loop without touching a release button. Slide the magnetic clasp along the mesh until it passes over the lug, then lift the band away. Older Milanese Loop bands do not separate this way and instead use the same top and bottom release buttons as a standard band.
3: Link Bracelet
A stainless steel Link Bracelet is heavier and separates into two halves before it comes off the case. Press the small quick release button on one of the links near the clasp to split the bracelet into a top piece and a bottom piece, then use the regular release buttons to remove each half from the case.
4: Ocean Band, Alpine Loop, and Trail Loop
These are the rugged, 49mm bands built for the Apple Watch Ultra. Press the release buttons on both sides of the closure to open it fully, then remove the band from the case using the standard top and bottom release buttons. Length adjustments on these bands happen through the closure itself, not by cutting or resizing the band.
Apple Watch band size compatibility explained
Apple groups its case sizes into two families, and a band made for one size in a family fits every case in that family.
38mm, 40mm, and 41mm cases share one band size.
42mm, 44mm, 45mm, and 46mm cases share a second band size.
49mm Ultra cases use bands designed for 44mm, 45mm, or 46mm cases, and some 49mm bands fit those smaller cases in return.
Case size is stamped on the underside of the watch, next to the model number, so you can confirm it without measuring anything yourself. A band sized for the wrong family will not damage the watch if you try to force it, but it will not fit either, since the connector width does not match the slot. Band size is only one part of the buying decision; the Aluminum vs Titanium Apple Watch comparison also looks at the differences between the two case materials
What to do when a band won’t budge
A band that will not slide out is almost always a pressure problem rather than a mechanical fault.
Press the release button firmly and hold it down the entire time, rather than tapping it. A partial press does not fully retract the locking pin. If the band still does not move, wiggle it gently side to side while keeping the button held in, since dust or slight misalignment can cause it to catch.
Dust, lint, and skin oil build up around the release slot over months of daily wear, which adds enough friction to make a band feel stuck. Wiping the connector area with a dry microfiber cloth before trying again often solves it. On a watch that has been near salt water or in a dusty environment, this buildup is more likely.
If a band still will not release after a few attempts, avoid prying at it with a fingernail or a tool, since this risks scratching the case or bending the button. Powering off the watch first prevents accidental taps on the display while you work, though it is not required for the release mechanism itself.
Common mistakes that damage a band or case
A few habits cause most of the scuffs and stuck bands people run into.
Forcing a band in at an angle instead of sliding it straight along the case can bend the connector pin. Pulling a band straight up instead of sliding it sideways puts stress on the release button rather than releasing it. Skipping the soft surface underneath the watch is how most screen scratches happen during a band swap. Buying a band sized for the wrong case family and forcing it into place can also wear out the slot over time.