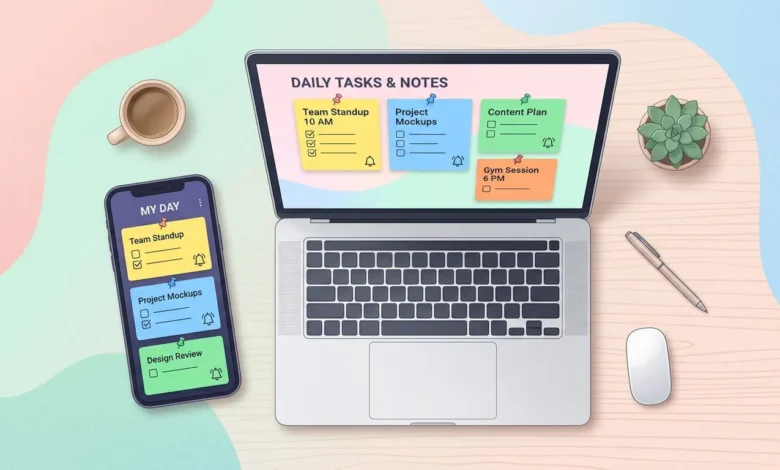
Google Keep strips note-taking down to the basics. There are no folders to build, no formatting menus to learn, and no setup screen asking you to configure a workspace before you can write anything down. You open it, you type, and the note is saved. That simplicity is exactly why so many people struggle to get the most out of it. Once you move past the “Take a note” box, Keep has labels, reminders, drawing tools, voice transcription, and sharing options that most users never touch. This guide walks through how to use Google Keep from your very first note to the features that turn it into a genuine organization system.
What Google Keep Is Actually Good For
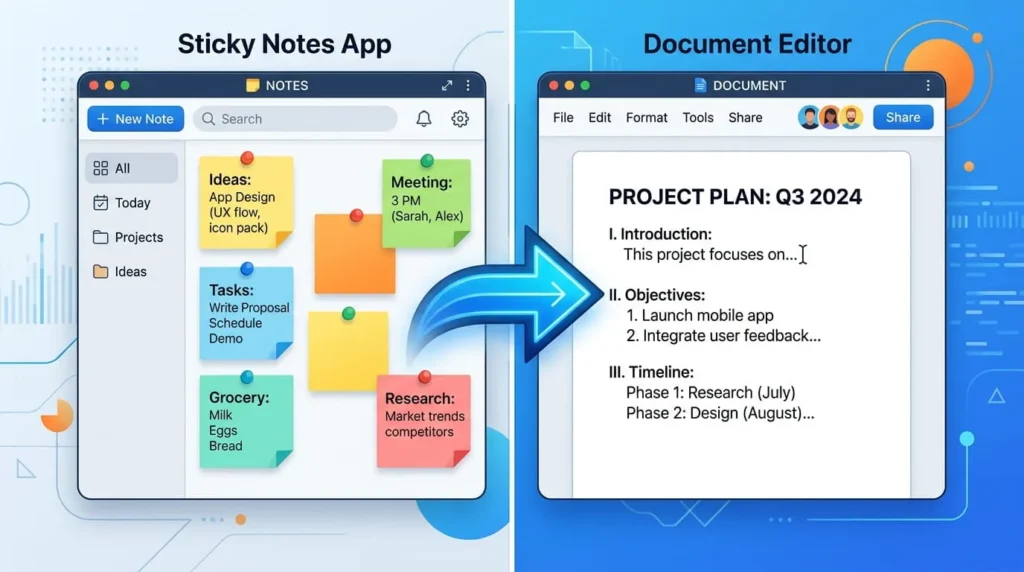
Keep is built for speed, not depth. It handles short notes, checklists, quick photos, and reminders that need to reach you within seconds of the thought occurring. It is not a document editor and it does not handle long-form writing well, since notes are not designed for multi-page content. If you need footnotes, outlines, or heavy formatting, a tool like Google Docs is a better fit. Keep works best as the place where an idea lands the moment you have it, before it gets refined somewhere else.
How to Get Started With Google Keep
1: Using Google Keep on the Web
Go to keep.google.com and sign in with your Google account. No download or installation is required. The main board sits in the center of the screen with a sidebar on the left for labels and other views. Click the “Take a note” bar at the top to start typing, and the note saves automatically as you go.
2: Using Google Keep on Android
Google Keep comes preinstalled on most Android phones. If yours does not have it, download it from the Play Store. Open the app, tap the plus icon, and start a note. Android also supports a lock screen widget, so you can add a quick note without unlocking your phone.
3: Using Google Keep on iPhone or iPad
Download Google Keep from the App Store and sign in with the same Google account you use elsewhere. The mobile layout mirrors the web version closely, and notes sync between devices within seconds. You can also add the Keep widget to your Today View for one-tap note creation.
4: Adding the Chrome Extension
Install the Google Keep Chrome extension to save web pages, highlighted text, or images directly to a note while you browse. This is useful for research, shopping lists built from product pages, or saving articles to read later without leaving your current tab.
How to Create Your First Note
1: Text Notes
Click or tap the note box, add an optional title, and type your content. There is no character limit that most users will ever hit, though Keep is meant for short entries rather than long documents.
2: Checklists
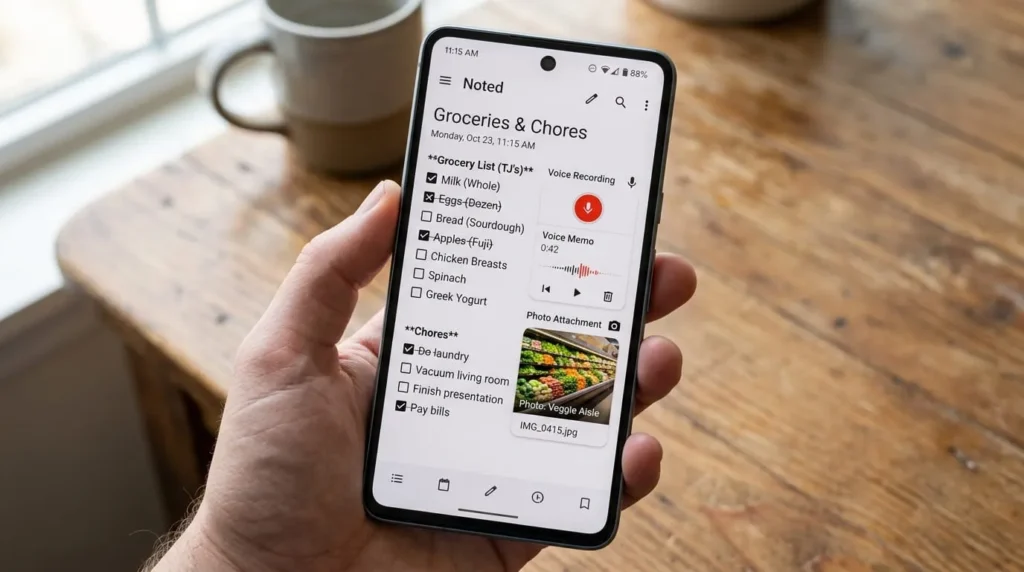
Select the checkbox icon inside a new note to turn it into a list. Each line becomes its own checkable item, and checked items automatically drop to the bottom of the list. For recurring lists, such as a packing list or a stage setup checklist, use the “Uncheck all items” option to reset it instead of retyping it each time.
3: Drawings and Handwritten Notes
The paintbrush icon opens a drawing canvas where you can sketch with your finger, a stylus, or a mouse. This works well for diagrams, quick sketches, or handwritten notes on a tablet.
4: Voice Notes and Transcription
Tap the microphone icon to record audio directly into a note. Keep automatically transcribes the recording into text underneath the audio clip, so you get a written record without typing anything. This is one of the fastest ways to capture a thought while driving or walking.
5: Photo Notes and Text Scanning
Add a photo to a note using the camera icon, then use the “Grab image text” option to pull any visible text out of the image and convert it into editable text. This works on printed pages, whiteboards, and handwritten notes, making it useful for capturing pages from a physical book or a meeting whiteboard.
How to Organize Notes in Google Keep
1: Color-Coding Notes
Open the three-dot menu on any note and choose a background color. Assigning colors by category, for example red for urgent tasks and blue for reference material, makes the board easier to scan visually without reading every note.
2: Adding Labels
work like folders without forcing a note into a single category. Open the three-dot menu, select “Add label,” and type a name such as Work, Recipes, or Travel. A note can carry multiple labels, and you can filter your board by any label from the sidebar.
3: Pinning and Archiving
Pin your most-used notes so they stay at the top of the board regardless of when they were created. Archive notes you want to keep but no longer need on the main screen. Archived notes are not deleted and remain fully searchable.
How to Set Reminders in Google Keep
1: Time-Based Reminders
Open a note, select the reminder bell icon, and choose a specific date and time. Keep supports one-time and recurring reminders, so a note can resurface daily, weekly, or on a custom schedule.
2: Location-Based Reminders
Instead of a time, choose a place. Keep will send a notification when your phone detects you have arrived at that location. This works well for errands, such as being reminded to buy something the moment you walk into a specific store.
How to Share and Collaborate on Notes
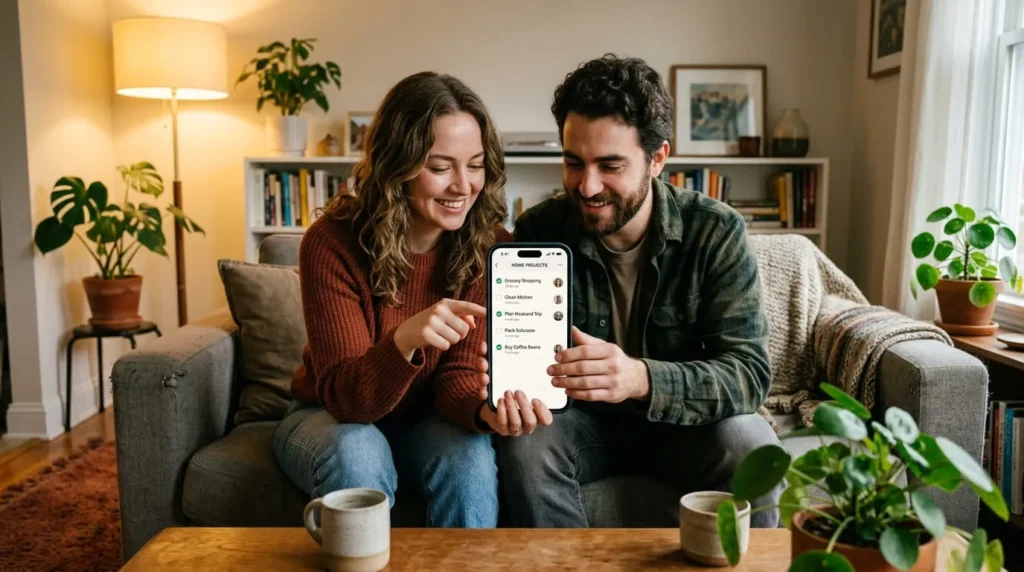
Open the three-dot menu on any note and select “Collaborator.” Enter the email address of the person you want to add. Once shared, both people can edit the note, check off list items, and see changes in real time. This makes Keep useful for shared shopping lists, household chores, or small team task tracking, though it lacks the permission controls found in more advanced collaboration tools.
How to Search Your Notes Quickly
Use the search bar at the top of the board to find notes by keyword, including text pulled from scanned images through OCR. You can also filter by color, label, or note type using the filter options next to the search bar, which helps when your board has grown past a quick scroll.
How Google Keep Connects With Other Google Apps
Any note can be converted into a Google Doc with a single click from the three-dot menu, which is useful once a quick note grows into something longer. Inside Google Docs or Slides, open the Keep side panel to drag notes directly into your document. Because Keep runs on Google Drive, notes sync automatically across every signed-in device without any manual backup step.
Tips for Using Google Keep More Efficiently
Type note.new into your browser’s address bar to open a fresh note instantly without navigating to the site first. Pin the Keep tab in your browser so it is always one click away. If you use Keep for meal planning, chores, or packing, build one reusable checklist and reset it with “Uncheck all items” rather than creating a new note every time.
When Google Keep Is Not the Right Tool
Keep is not built for long documents, detailed project management, or notes that need heavy formatting like tables or multiple heading levels. It also does not offer the granular sharing permissions found in dedicated collaboration platforms. For quick capture, checklists, and reminders that sync across your phone and computer, it remains one of the simplest tools available.